

Hey everyone! Today I will be talking about how to add a picture to your word document. It is a quick and easy process that will only take a few steps to do.
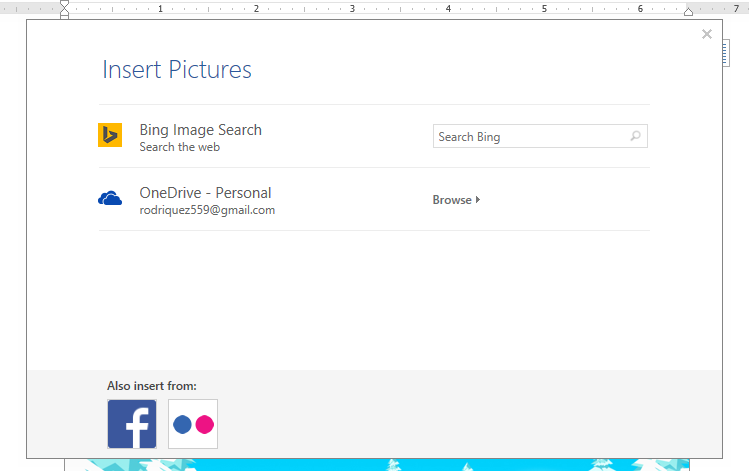
There are two ways to add a picture to a document. First is to select a picture from the files on your computer. The second would be to add a picture from an online source.
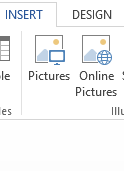
To add a picture from your computer click on insert, then Pictures.
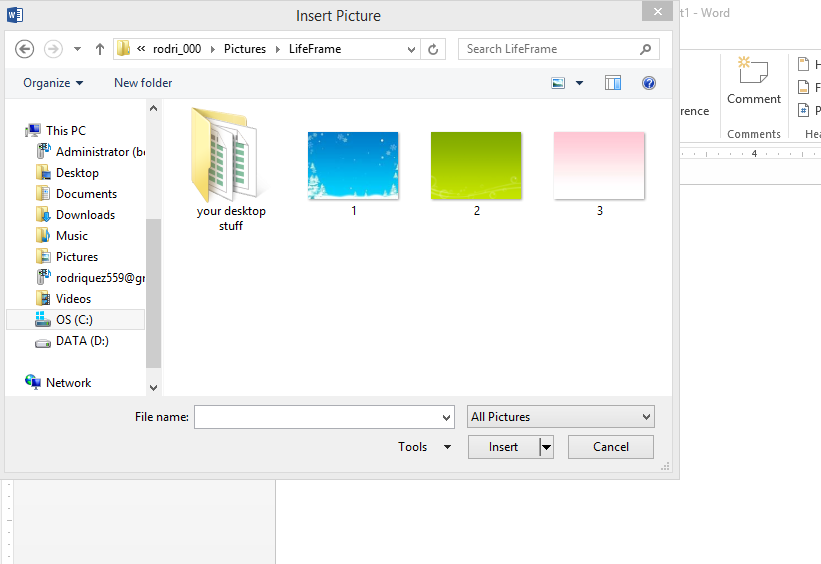
From here a window will open up that will allow you to select different pictures from your computer and add them in.
Once an image is inserted into your document, you can made the appropriate edits to the picture under Format in the top ribbon. Be sure to select Wrap Text and select Tight. This will allow your picture to move around text and fit in to any space you want. You can also adjust the picture in other ways depending on where you want it located.
.png)
There you have it! You can get more in depth by looking at the different options and trying out what works for you to see what you like.
Check back next week for another TechTip!
Follow, Like, Share!
Twitter, Instagram : @discoverehub
Facebook: DiscoverE Hub
No comments:
Post a Comment